In America it’s possible to buy just about anything you want or need but sometimes I like to make things for my self. Luckily I have the skills to recreate just about anything I can see so the making part comes rather easily for me. I enjoy finding the parts and pieces too, it’s like a scavenger hunt and a jigsaw puzzle all rolled into one!
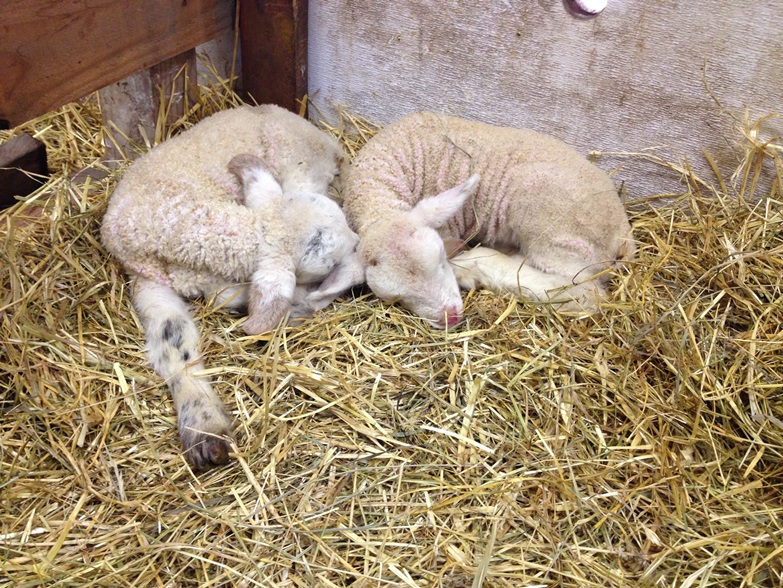
Newborn baby lambs are the most amazing little creatures. They can stand within minutes of being born and their wobbly legs get steady within an hour or so of their birth. Before the first day is done they are usually hopping and pronging all over the pen enjoying their liberation from the cramped quarters of mothers womb.
Their precious little bodies are covered in soft wool that, once dried, will keep them warm enough to survive even in sub zero temperatures. That little bit of wool, maybe a half inch long, is just enough to insulate their little bodies. Much like that layer of wool that a person wears when going out in the snow, it wicks away moisture that can cause chills, keeping the body heat in, and the cold out.
Mommy sheep know how this works so the minute the lamb is born she starts licking. Her job is to clean the wet lamb of all the amniotic fluid so it’s wool can dry and start insulating the new babe. Little lambie’s job is to find mom’s udder and drink some nice warm colostrum which is packed with calories and antibodies that get all of the new lamb’s systems warmed up and running.
In many parts of the country springtime means warm temperatures, above freezing anyway. In Alaska we can’t count on that. It’s was 40° last week and below zero this morning, with rain and snow in the forecast for this coming week. Lambs born outside will be hard pressed to get dry, let alone stay dry, in this weather.
Which is why we need coats. Adult sheep wear coats to keep clean. Baby lambs wear coats to stay warm and dry. What could be more perfect for a little wool factory (aka lamb) than a wool coat?
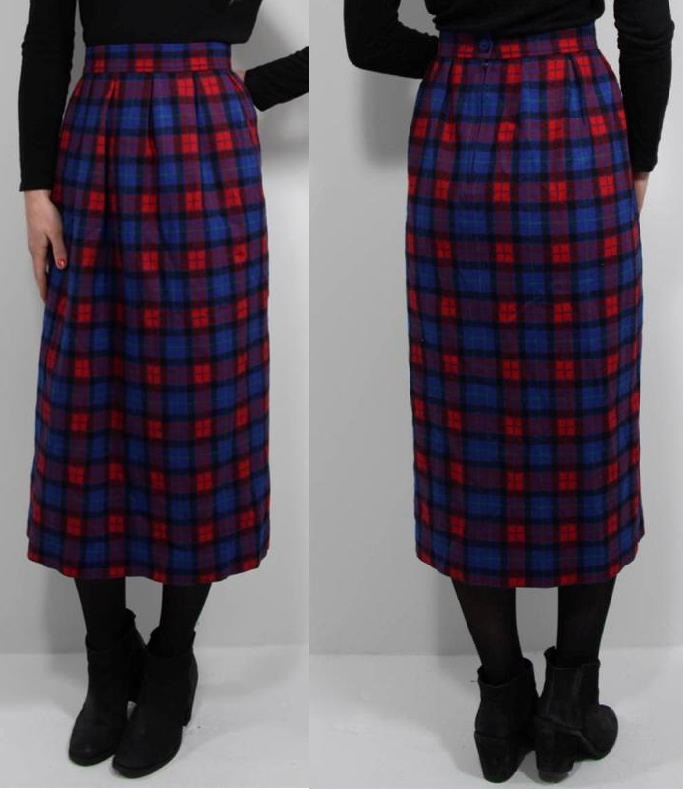
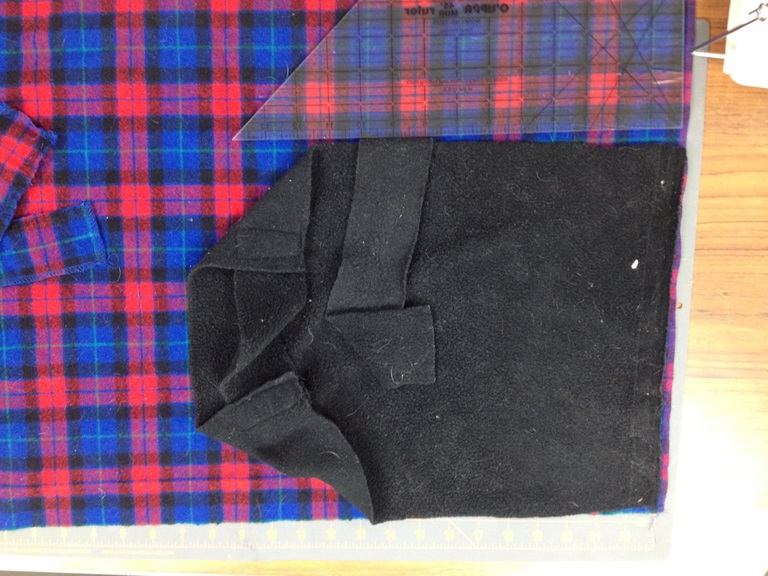
For this project I found some awesome high quality Pendleton Wool in a lovely red and blue plaid. Unfortunately for the viewing audience, it was masquerading as a skirt (on eBay) but I spent some quality time with the seam ripper and now it is a large rectangular piece of wool fabric. As an added bonus I have taken this “vintage” skirt off the streets making the world more pleasing to view for all of us.
I figure the fabric is enough for about 4 lamb sized coats. I have three different coats to recreate. This first one took about 15 minutes to make, not counting the preparation. It’s a pretty basic design that was easy to layout.
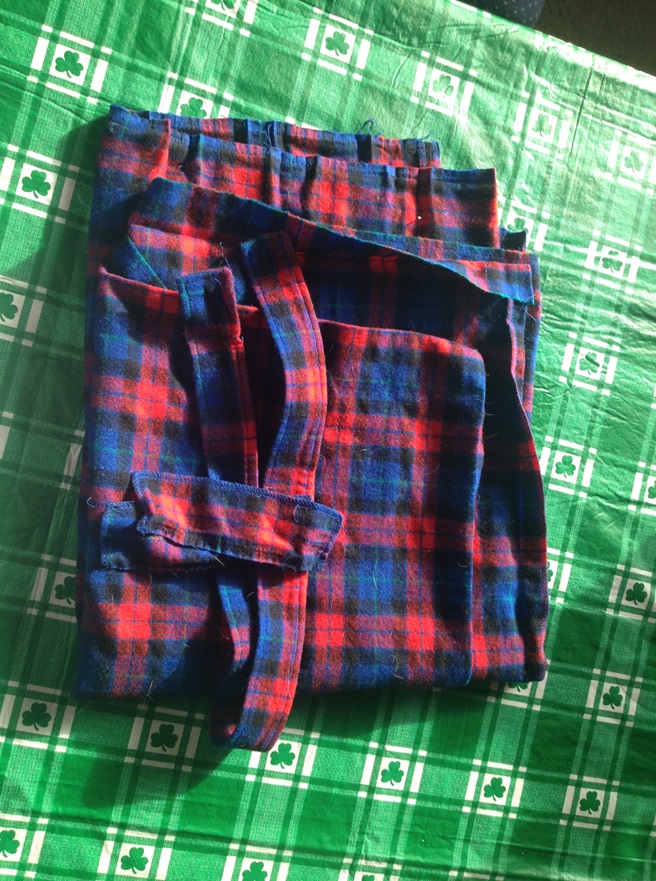
Step 1: Wash the skirt.
It’s wool, if it’s going to shrink, let it shrink before you make anything out of it. I’m going to put this on lambs, who will be dirty and get even dirtier. the coats will have to be washed, often, so let’s get any shrinkage over with before the masterpiece is created. I didn’t put it in the dryer because my sheep coats are air dried. The relative humidity in Alaska is really low so laundry dries quickly and uses less energy which costs less money.
Step 2: Tear the skirt apart.
Ok, don’t actually tear it, but use a seam ripper and take out all the seams. This skirt was simple to disassemble with just a hem, a single seam up the back, a waist band, and two pocket liners. It had pleats around the waist but they were tacked into the waist band and came apart easily once the band was removed.
Step 3: Iron it
Erma Bombeck wrote “Ironed sheets are a health hazard”, if you’ve never read it or don’t know who Ms. Bombeck was, I encourage you to look her up. A brilliant and funny lady who wrote some hysterically funny books, in this case about the perils of housework. I hate ironing. I don’t iron my clothes, I don’t even buy clothes without checking the labels. If the label mentions an iron that article is NOT going home with me. No-siree. But I do iron fabric before I cut or sew. I’ve learned that much time, energy, and frustration can be saved by proper preparation.
I like to work smarter not harder. I’m a busy woman, my time is worth something. So if I’m going to do a project, I’m going to use efficient methods.
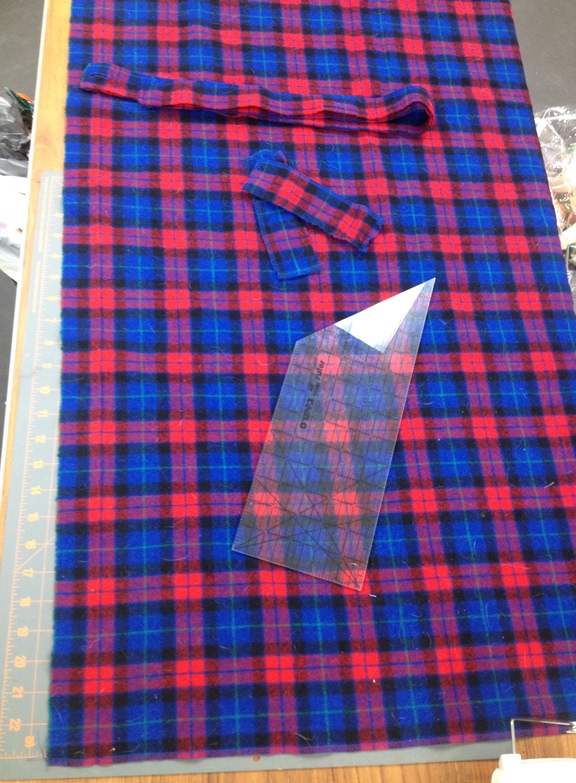
Step 4: Plan Ahead
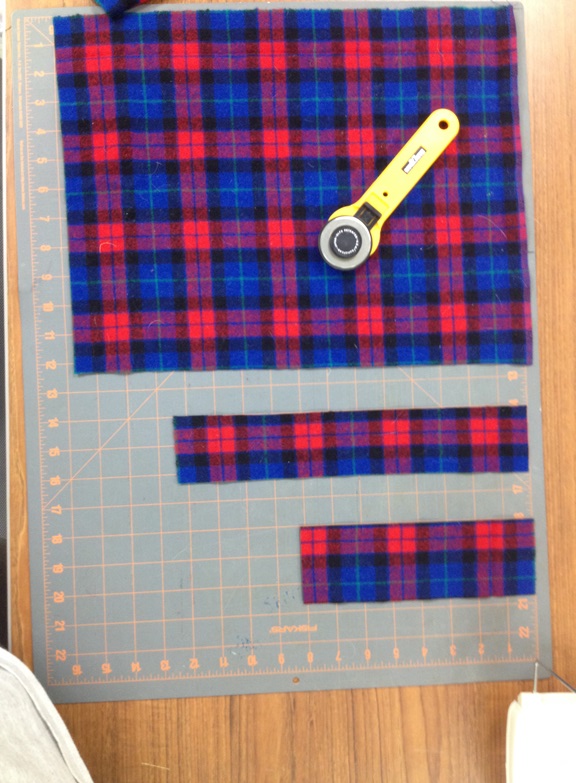
Lay your original on your fabric and visualize how you are going to cut this out. If your fabric has a pattern do you want it going up and down or side to side? Will the straps stand out and look dorky or will they blend nicely?
MEASURE TWICE CUT ONCE. Always measure, think about the layout, look at the fabric, make any adjustments or tweaks to the layout, measure again, then cut. You can sew fabric back together but it might not look right if you do so please, just take your time, measure twice, you will be happier with the result.
Step 5: Make Notes
You may be so happy with your project you want to make another one JUST LIKE IT. Make notes or take a picture so you have some record of what you did, what dimensions you cut, whatever you think you might need to remember later. I always think I’ll remember but then a lamb is born or a daughter needs me to alter a dress or I take a nap, and it all just oozes out of my head. Now I whip out my phone, snap a pic and move on. When I need to remember, my phone is always there for me 🙂
This coat is 3 pieces, 16 X 12 body, 12.5 X 2.5 belly band, and 8.25 X 2.75 chest band. I made these dimensions up, by examining the sample that my friend had lent me. I just tried to replicate it as best I could .
I sewed the chest piece on the body by overlapping about 3/4″ on each end. I then placed the belly band on the left side about 3″ back from the front (shoulder) edge. I reinforced each seam by going around the overlapped area in a spiral 3 times, moving in a little with each turn.
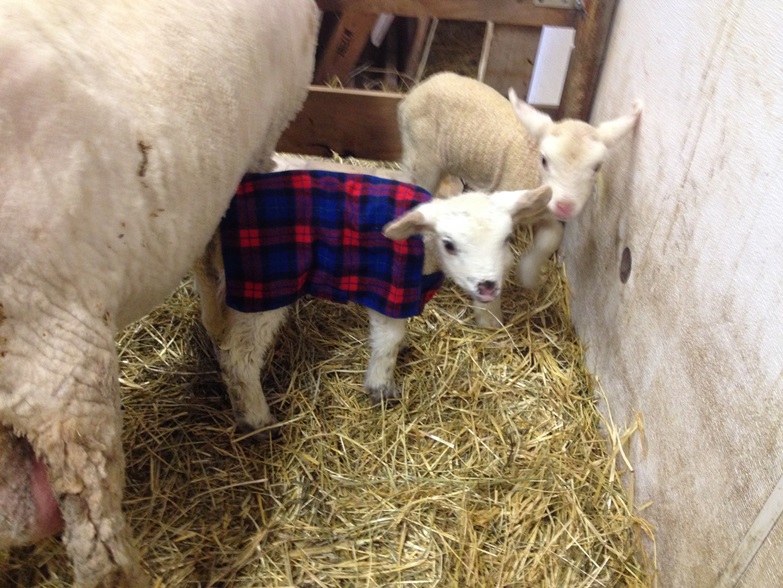
Step 6: Try It On For Size
Not all lambs are created equal. Twins are generally smaller than singles and triplets are smaller than twins. It’s the same with people. The more occupants, the tighter the space, the smaller each baby. These lambs were about 9 lbs at birth. Last year I had a lamb that was 11 lbs. I plan to make my next coat a little bit bigger, just in case we have another big one.
I plan to try one of the other “patterns” too. I always have time to kill in the mornings while I wait for the rest of my family to wake up. It will be the perfect time to whip up another one of these adorable projects.
